Managing Kubernetes clusters can be complex and time-consuming. HKE (HostSpace Kubernetes Engine) aims to simplify this process with automated cluster management, built-in monitoring, and intelligent optimization recommendations. Let’s explore how HKE streamlines the Kubernetes experience while providing robust management features.
Prerequisites
Before creating your first cluster, ensure you have:
- A server/instance ready for use
- SSH key for secure access
- Instance username
- Basic understanding of Kubernetes concepts
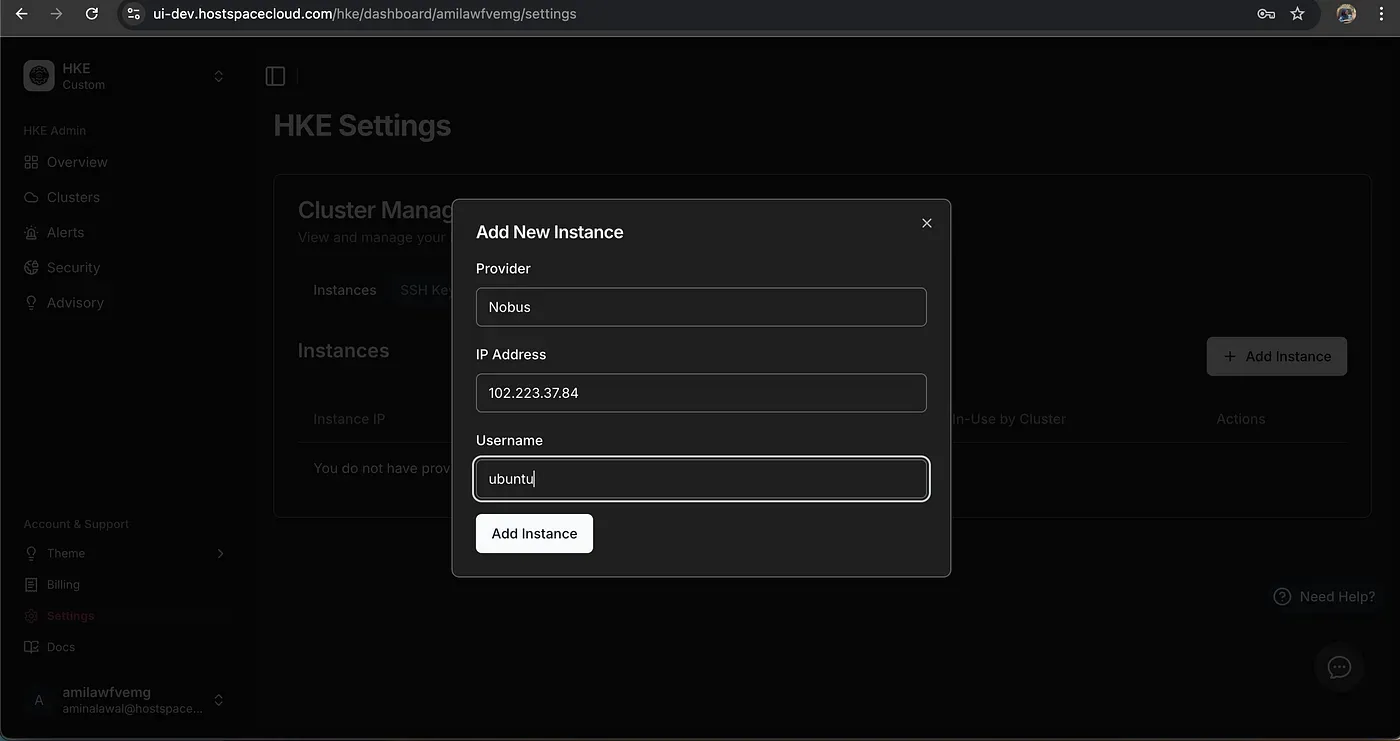
Pro tip: Start by visiting the HKE Settings page to add your instances and SSH keys. This is particularly useful if you manage multiple infrastructure components.
Creating Your First Cluster
HKE’s approach to cluster creation is refreshingly straightforward. Unlike traditional Kubernetes setups that often require extensive configuration, HKE streamlines the process to a few essential steps:
- Choose your Kubernetes version
- Select or add your instance IP
- Provide SSH credentials
- Name your cluster
- Select your Kubernetes version (1.31 in my case)
Cluster Home Page 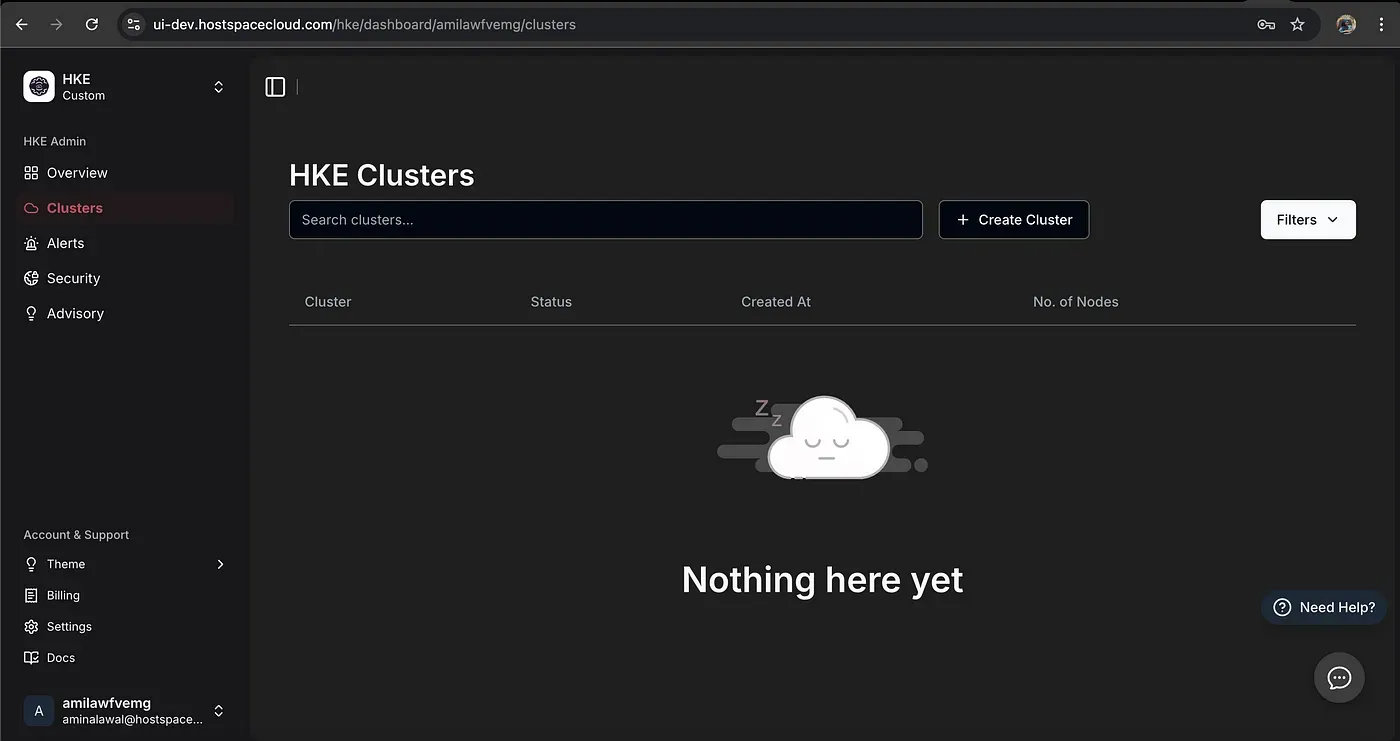
Creating a Cluster using Saved Credentials (Instance IP & SSH Keys) 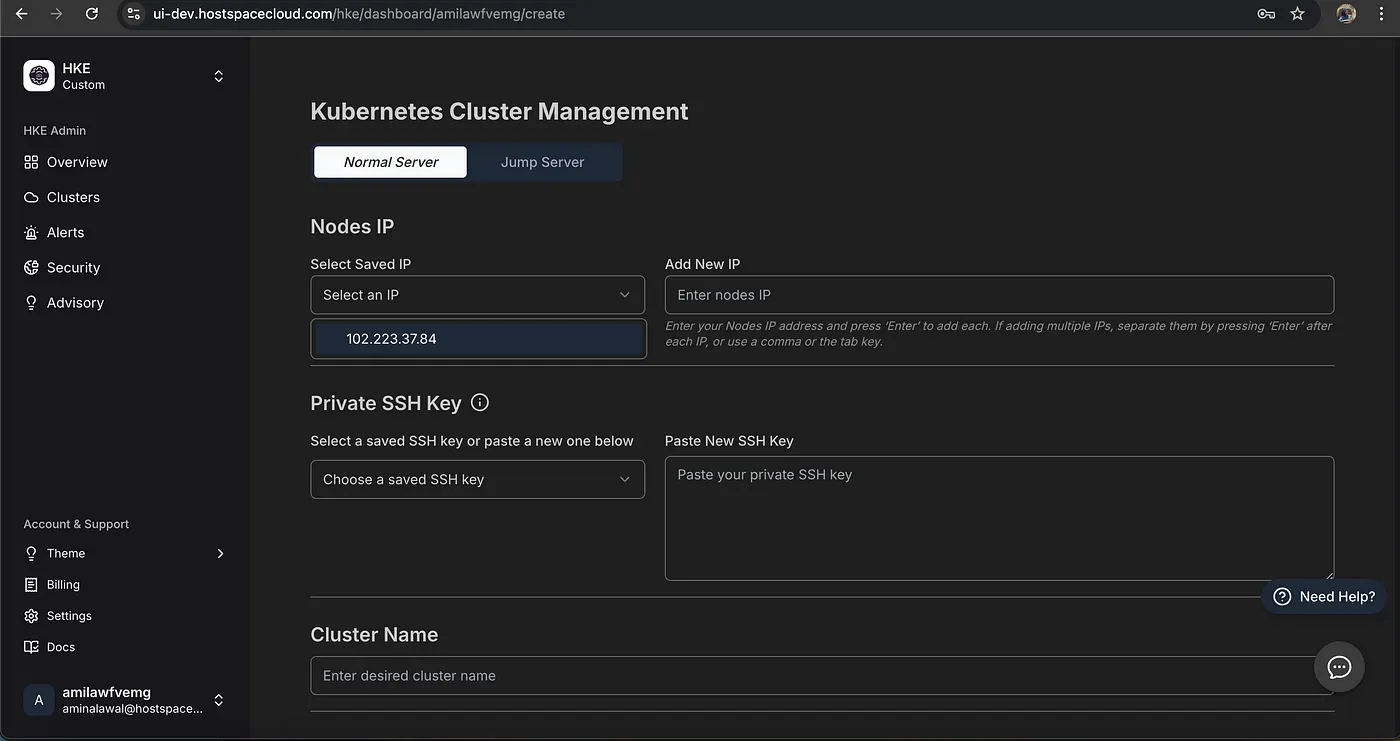
Cluster Creation Completed 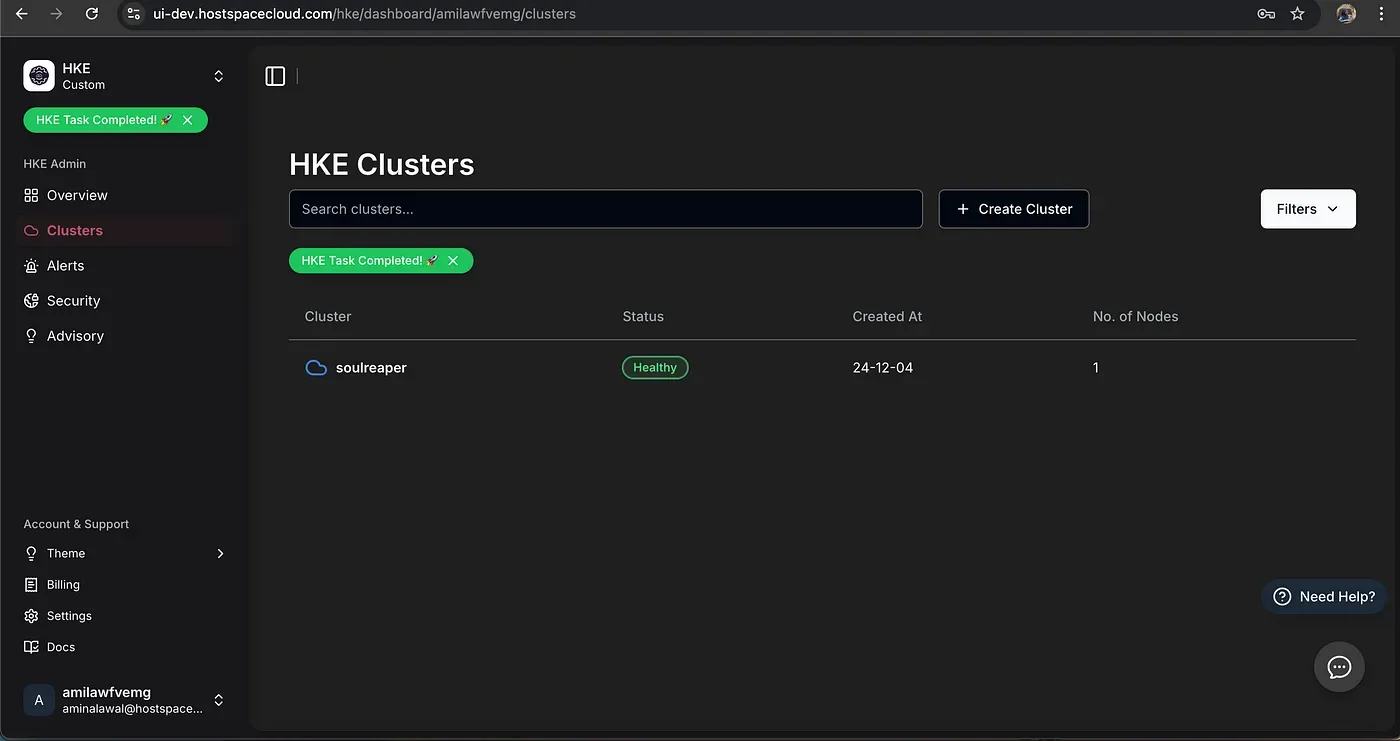
What stands out is the minimal input required — HKE handles the complex underlying configuration automatically.
Connecting to Your Cluster
Once your cluster is up, HKE provides straightforward connection instructions:
- Download the kubeconfig file
- Configure kubectl using the provided commands
- Verify connection with
kubectl get nodes
A useful tip: Make sure to use the complete context name when switching contexts, as it includes a unique identifier.
Connection instructions from HKE UI 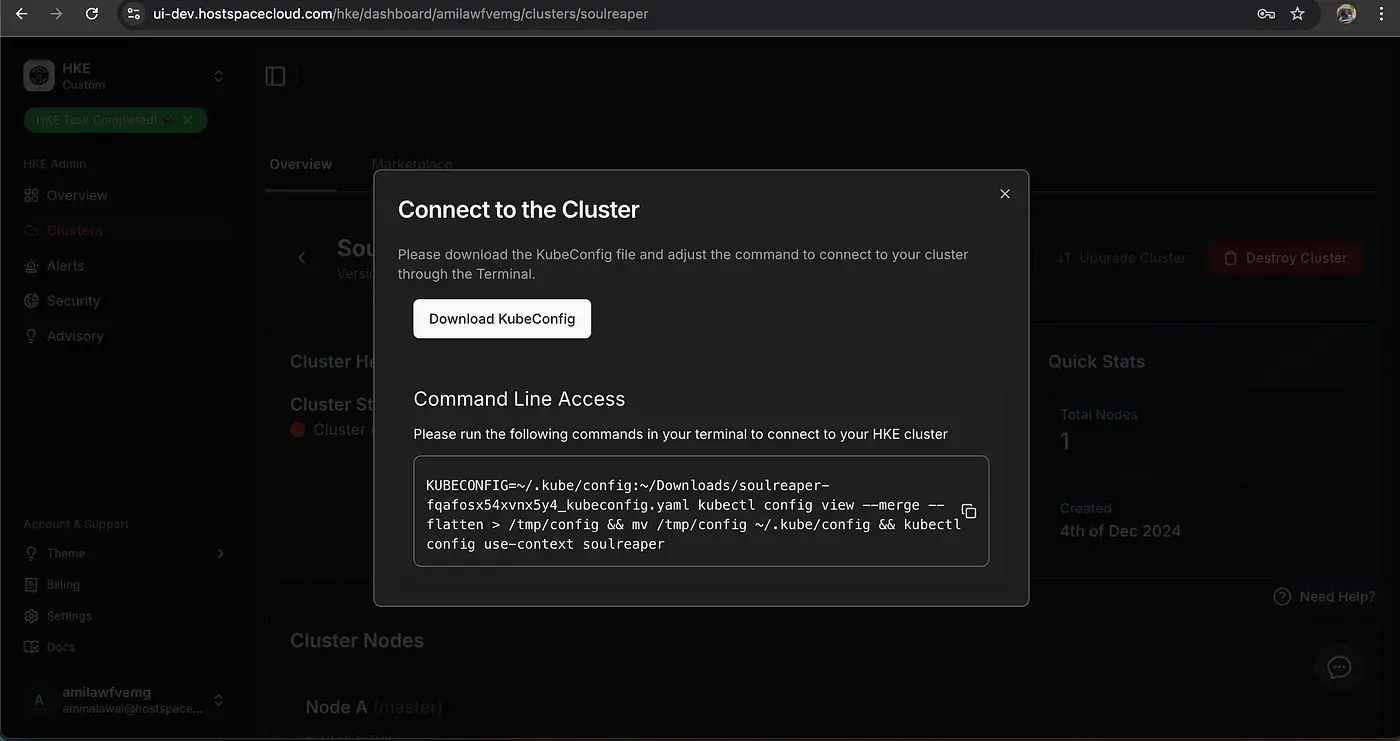
Cluster Creation Completed 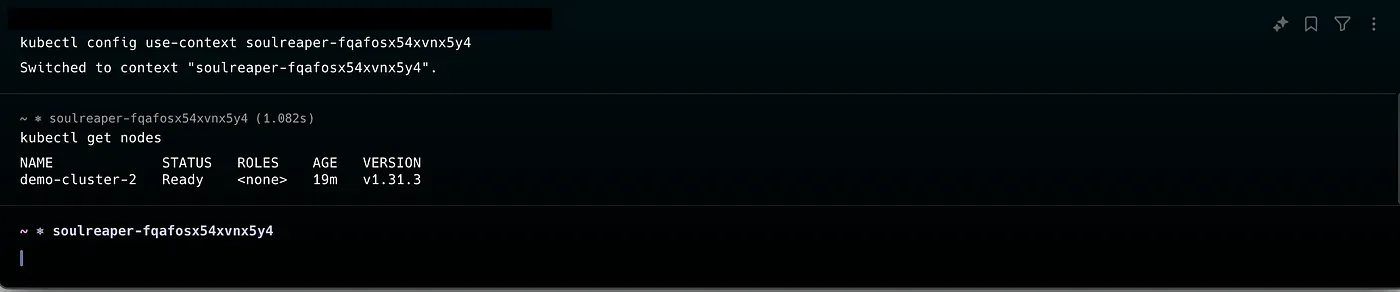
Deploying Applications from the Marketplace
HKE comes with a built-in marketplace offering various applications. For this demonstration.
Before deploying ArgoCD, we first needed to set up the Nginx Ingress Controller from HKE’s Marketplace. This is a crucial component because:
- It acts as the traffic manager for your cluster
- Enables domain-based routing using .nip.io
- Allows external access to applications running in the cluster
- Navigate to the Marketplace tab
- Locate Nginx Ingress Controller & ArgoCD in the available applications
- Click Install — HKE handles all the underlying complexity
HKE Marketplace 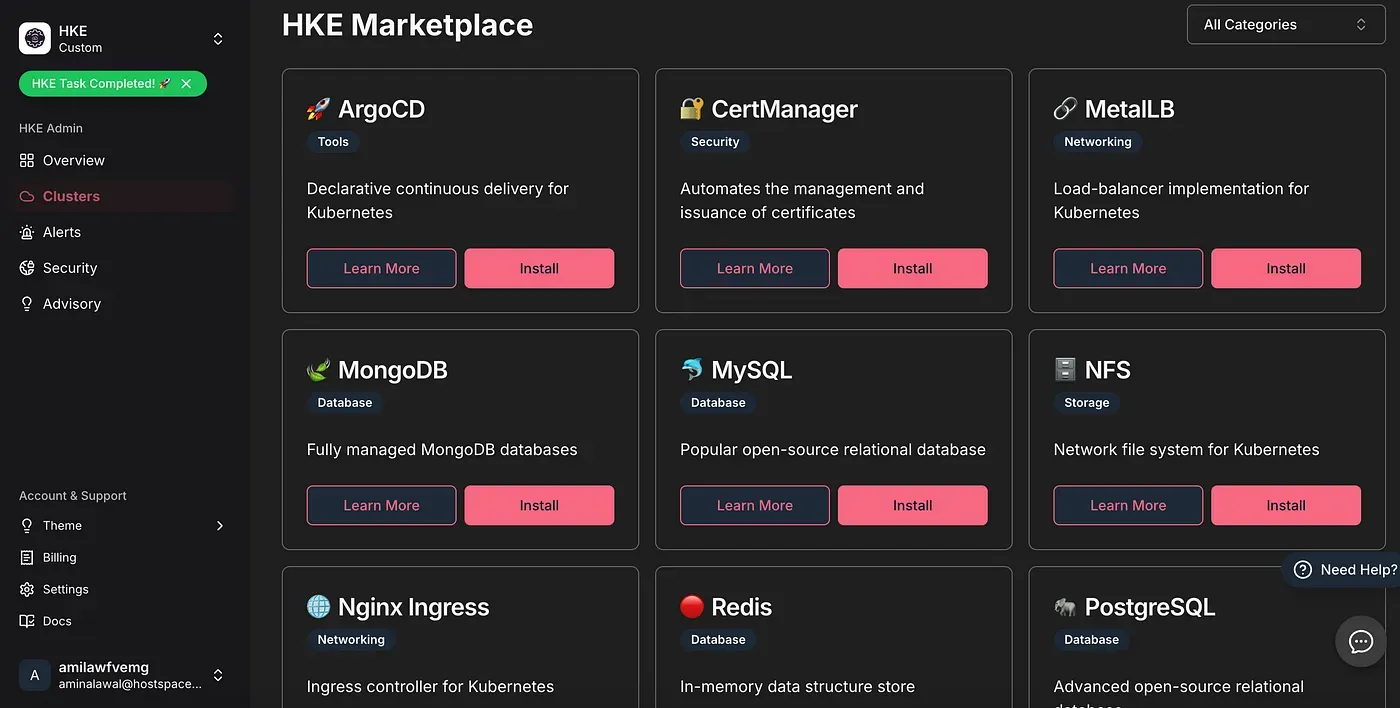
Quick Verification with Port Forwarding
Before setting up external access, it’s good practice to verify your deployment using port forwarding:
kubectl port-forward svc/argocd-server -n argocd 8080:443This allows you to quickly access the UI at https://localhost:8080
Generating password for ArgoCD & Port Forwarding 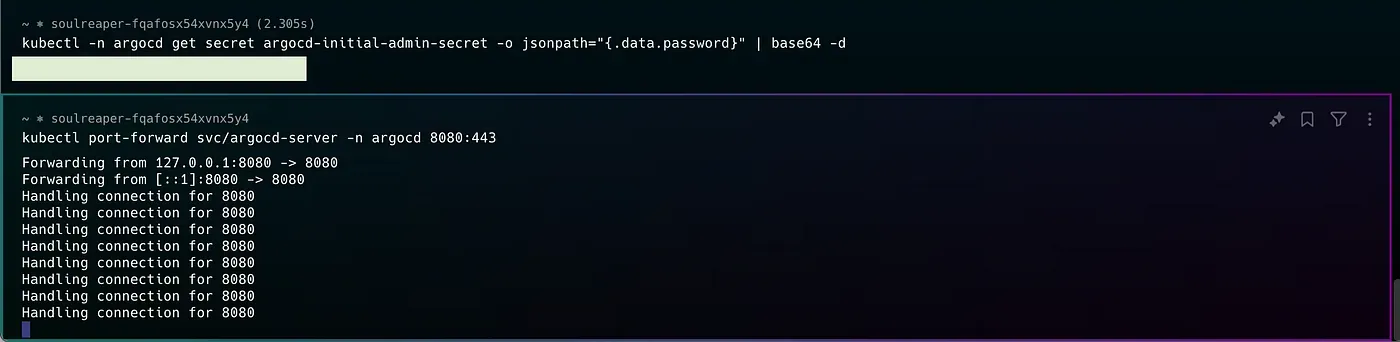
Local Host ArgoCD UI accessed with Port-forwarding 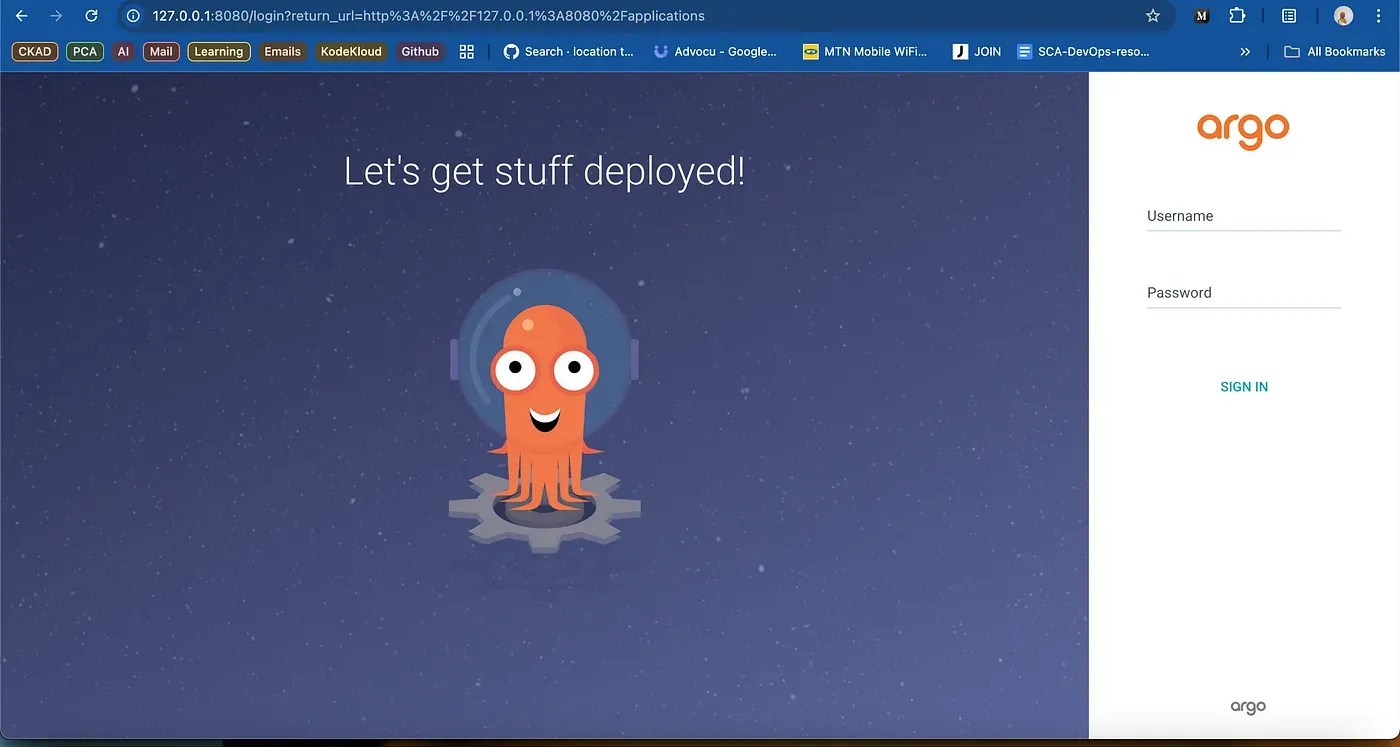
Setting Up External Access
In our case:
- HKE Marketplace automatically deployed the Nginx Ingress Controller
- Created ingress rules for ArgoCD
- Configured domain access using .nip.io for convenient URL access
Since we’re running in an environment without a LoadBalancer and we didn’t set up MetalLb, we needed to switch to NodePort:
kubectl patch svc nginx-ingress-ingress-nginx-controller -n default -p '{"spec": {"type": "NodePort"}}'
This change allows external traffic to reach our ingress controller through a specific port on the node.
After configuring NodePort, access ArgoCD through.
http://argocd.YOUR-NODE-IP.nip.io:NODEPORT
Where NODEPORT is the port assigned by Kubernetes (in our case, 31043)
Successfully deployed ArgoCD interface 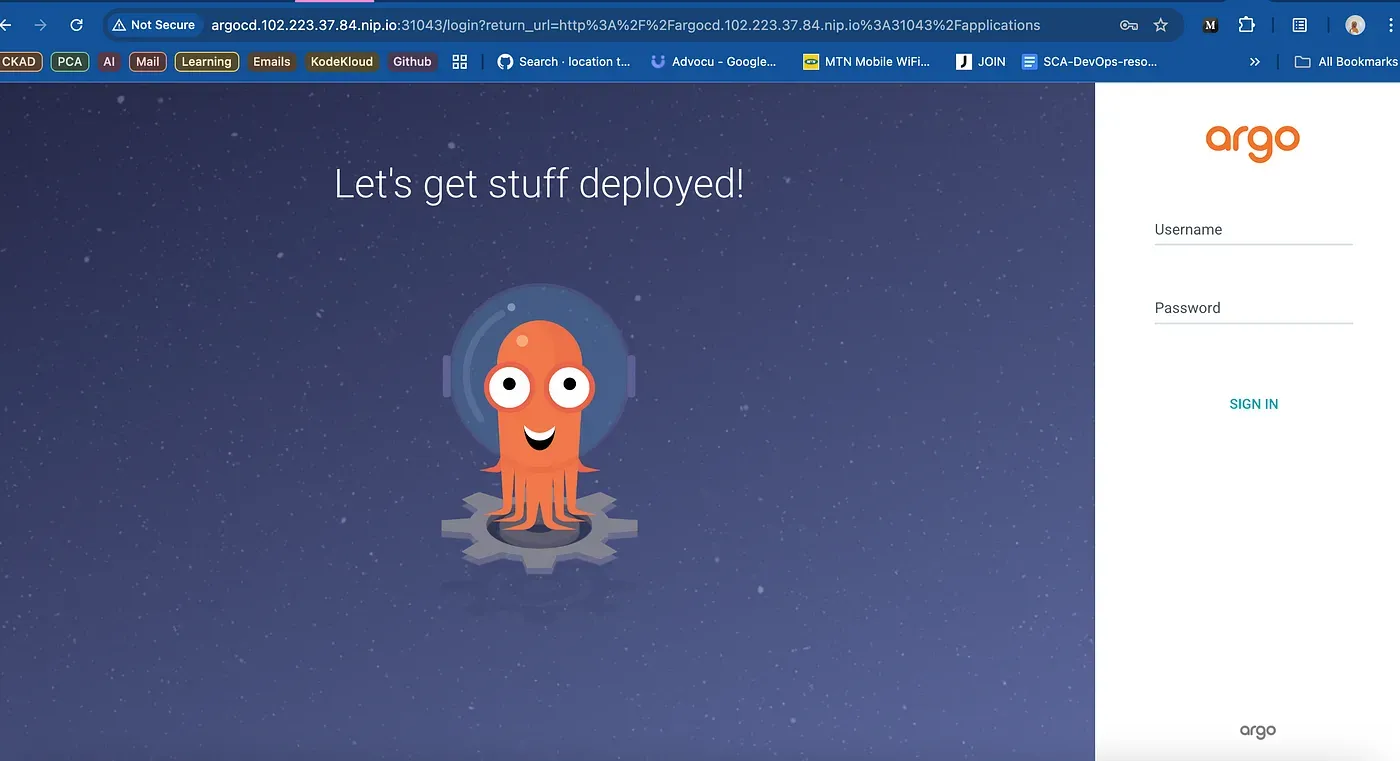
Security Considerations
For production environments, consider these additional security enhancements:
- Enable SSL redirect
- Configure backend protocol as HTTPS
- Implement proper certificate management
What Makes HKE Stand Out
- Simplified Management: The one-click deployment of complex applications like ArgoCD shows how HKE abstracts away Kubernetes complexity
- Intelligent Monitoring: Built-in resource tracking, security monitoring, and advisory systems provide comprehensive cluster insights
Security Events 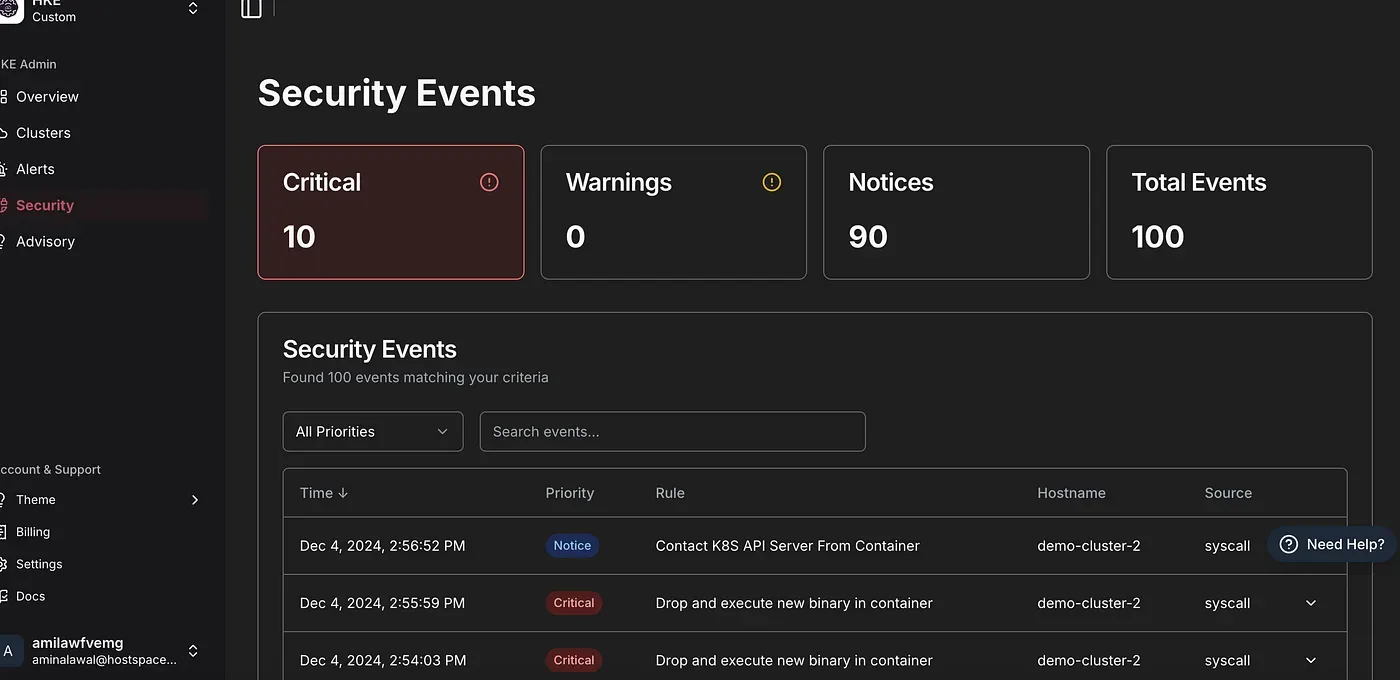
HKE Advisory 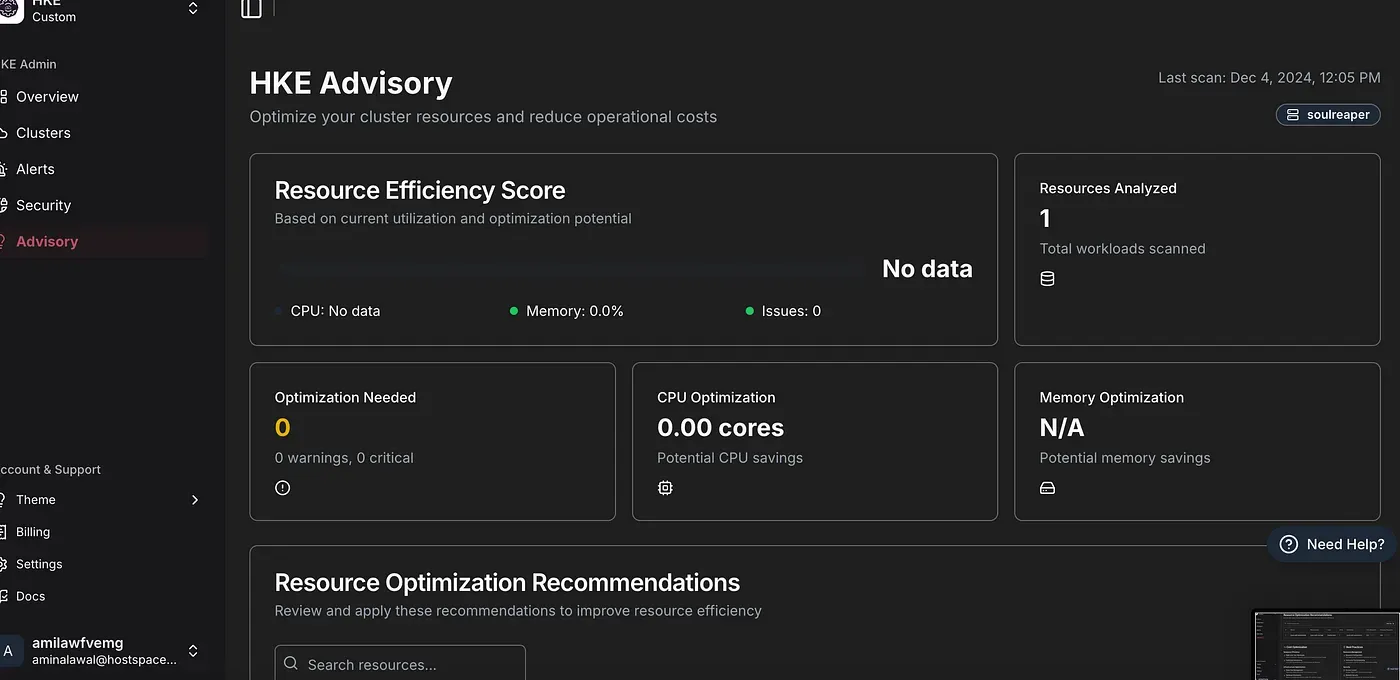
Automated Best Practices: From ingress configuration to resource optimization recommendations, HKE guides you toward Kubernetes best practices
Clear Visibility: The dashboard provides immediate insights into cluster health, resource usage, and potential optimizations
General Cluster Dashboard 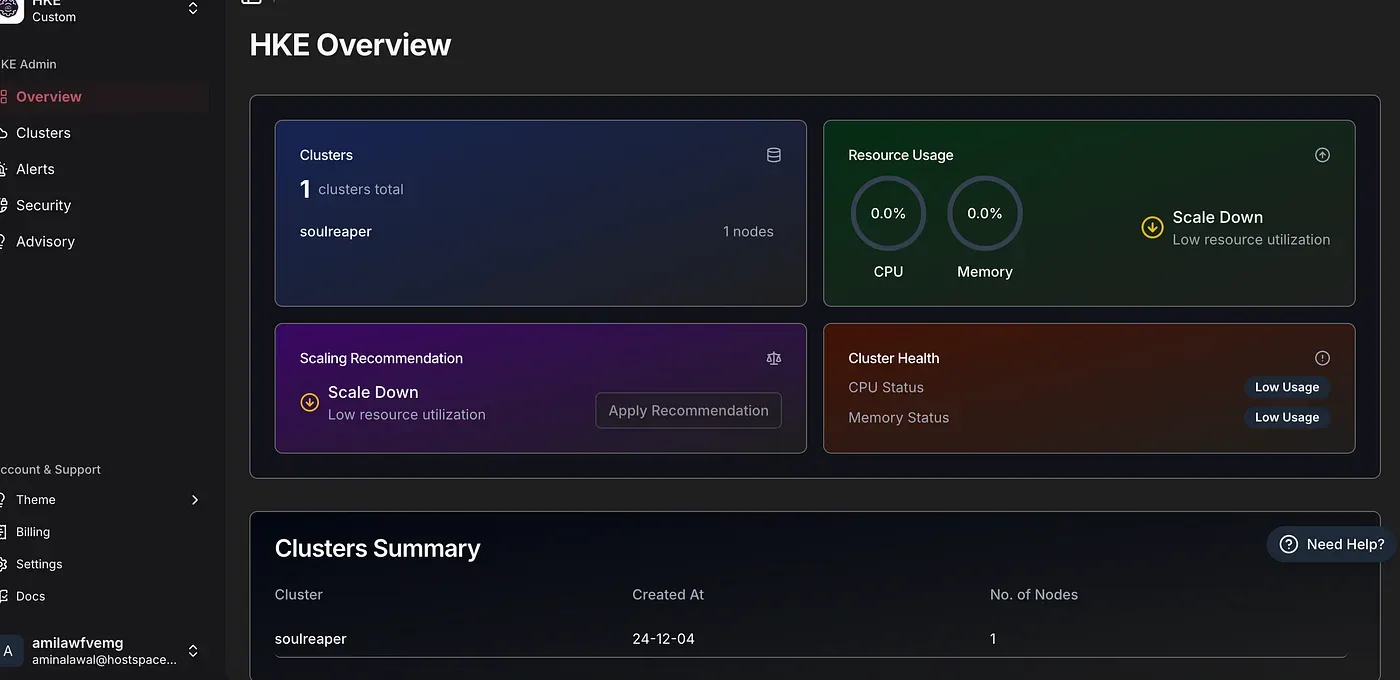
HKE simplifies Kubernetes deployment and management while maintaining flexibility for customization. The marketplace feature particularly stands out, making application deployment a streamlined process.
Key takeaways:
- Easy cluster creation and management
- Rich marketplace of applications
- Automated ingress configuration
- Flexibility to adapt to different infrastructure requirements
The platform’s ability to automatically handle complex tasks while providing comprehensive monitoring and optimization recommendations makes it a compelling choice for teams looking to streamline their Kubernetes operations.
Get started here today!